Docs
Documentation of Kaddora Education – College, University & Campus LMS WordPress Theme
Introduction
Welcome and Thank You for Choosing Kaddora Education!
First of all, thank you for choosing Kaddora Education – College, University & Campus LMS WordPress Theme. This documentation is created to help you get started building your educational website with ease. Here, you will find detailed instructions on installing the theme, setting up your site, and using all the powerful features included.
If you encounter any issues that are not covered in this documentation, our dedicated support team is always ready to assist you. You can reach us anytime through our support desk. We are committed to helping you create a professional and fully functional education website with Kaddora Education.
Getting Started
Before Installing the Theme
To use this theme, you must have a working installation of WordPress. If WordPress is not installed on your server yet, you will need to install it first.
How to Install WordPress
If you need help installing WordPress, follow the official instructions in the WordPress Codex:
- WordPress Codex – General info about WordPress and step-by-step installation guide.
- First Steps With WordPress – Covers multiple topics to help you get started.
- FAQ for New Users – Answers the most common questions for beginners.
Important:
- To use this theme, you need a self-hosted WordPress installation from WordPress.org or a WordPress.com site with the Business plan. Themes and custom plugins are not supported on WordPress.com Free, Personal, or Premium plans.
- Choosing a reliable, WordPress-friendly hosting provider is crucial. We recommend hosting companies that provide the latest technologies and flexibility for your website.
Once WordPress is installed, you can proceed with installing and activating the theme.
How to Download
If you don’t have enough experience to install WordPress on a server, we have compiled some helpful videos for you. If your server and WordPress installation are already ready, you can skip these videos.
Watch & Download Video Tutorials
Downloading Theme Files
You can download the theme files from ThemeKaddora:
- Go to the themekaddora.com
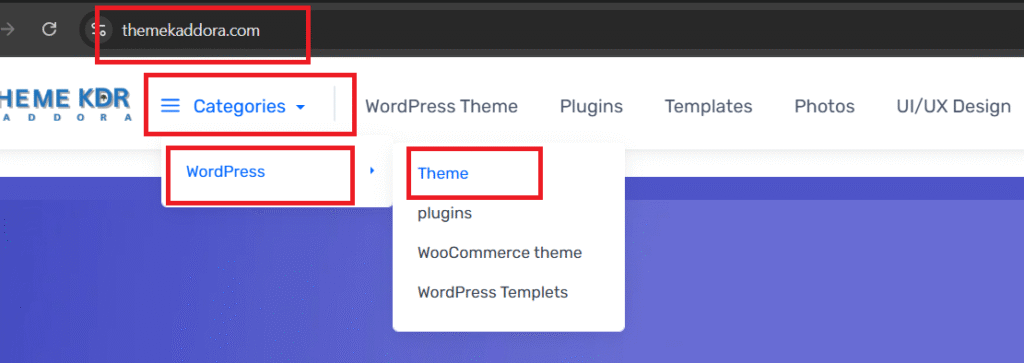
- Find the theme and click to Add Cart and purchase it.
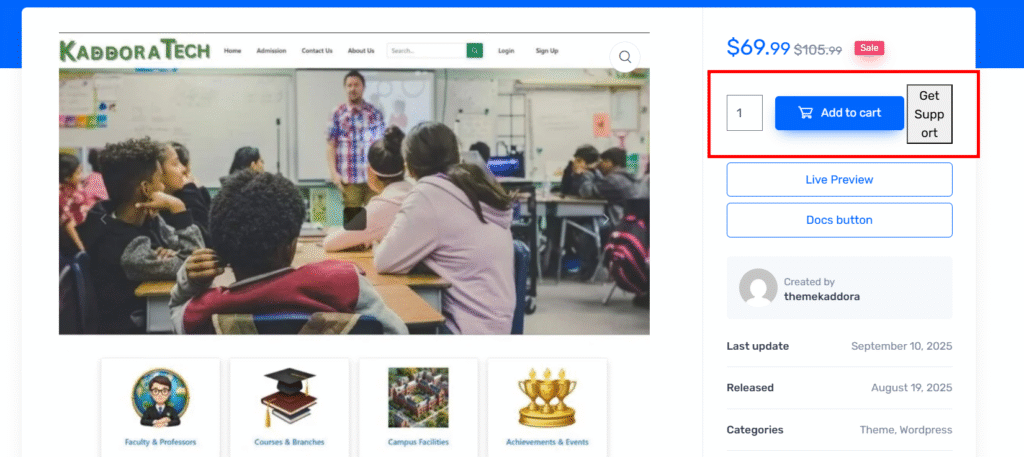
- Download here zip file
Contents of the Theme Package(zip file)
The theme package downloaded from Themekaddora contains:
- Licensing – Contains the terms and conditions of the theme license, along with information on licensing of various theme parts.
- Plugins – Contains all plugins required to work with the theme, useful if you cannot install them via the WordPress prompt or need a local copy.
- Theme.zip – The archive you need to upload to WordPress.
- Demodata – Contains the XML file for importing demo content of the theme.
Requirements & Compatibility
Before installing and using our theme, please ensure your hosting environment meets the minimum WordPress requirements to run our theme smoothly.
Server Requirements
Important:
If you do not have an SSL certificate (HTTPS) installed, you will not be able to import demo data from our server.
- PHP Version: 7.0 or higher
- MySQL Version: 5.6 or higher
- Apache Module:
mod_rewritemust be enabled - PHP Extension:
iconvwith UTF-8 encoding - HTTPS Support: SSL certificate installed on your server
Recommended PHP Settings
To ensure all plugins and demo data run without issues, we recommend the following PHP configuration:
- PHP Time Limit: 300
- Upload Max Filesize: 512M
- Post Max Size: 521M
- Max Input Time: -1
Plugin Compatibility
Our theme has been tested and is fully compatible with the most popular WordPress plugins, including:
- Elementor Page Builder
- Slider Revolution
- WooCommerce
- WPML (Multilingual Plugin)
- Gravity Forms
- Contact Form 7
- ACF – Advanced Custom Fields
- Custom Post Type UI
- The Events Calendar
- All-in-One WP Migration
- Autoptimize
- Yoast SEO
- WP Super Cache
- Meta Box
Theme Installation
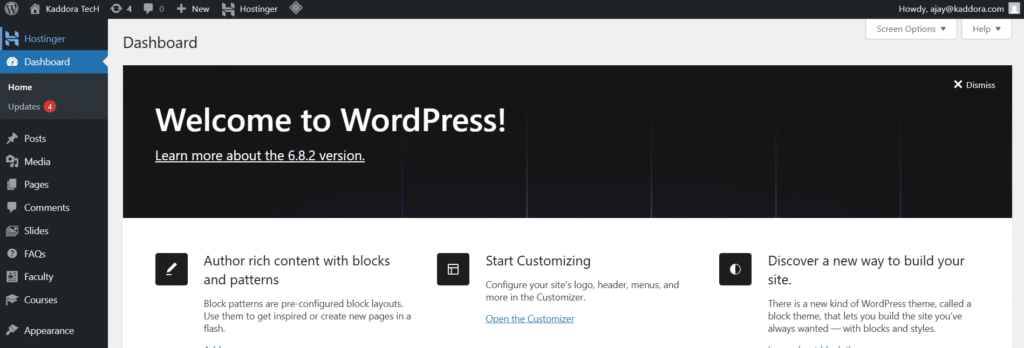
Step 1: Log in to Your WordPress Dashboard
- Go to http://yourdomain.com/wp-admin
- Enter your WordPress username and password.
Step 3: Upload the Theme
- In the left menu, go to Appearance → Themes.

- Click the Add New button at the top.
- Click Upload Theme.
- Click Choose File, select the theme
.zipfile (the installable WordPress file only). - Click Install Now.

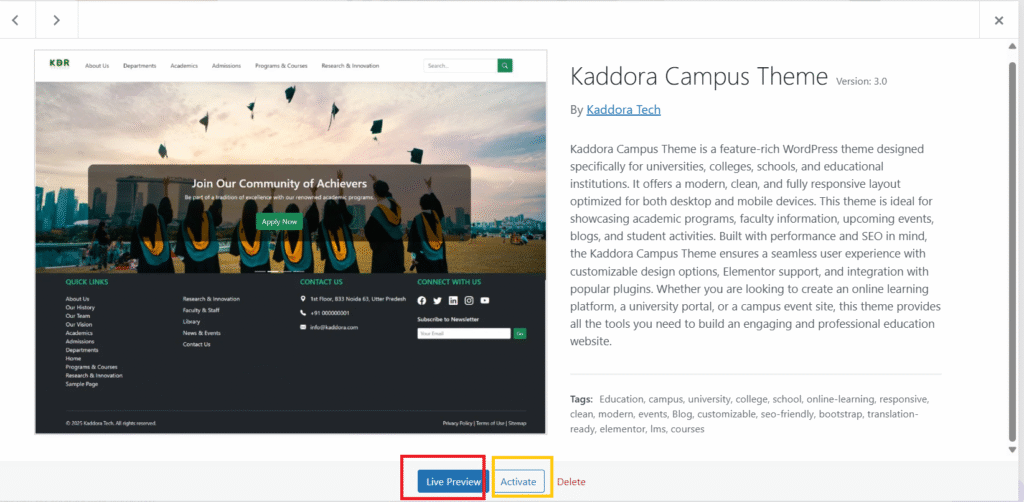
Step 4: Activate the Theme
- After the installation finishes, click Live preview or Activate to make it your active theme.
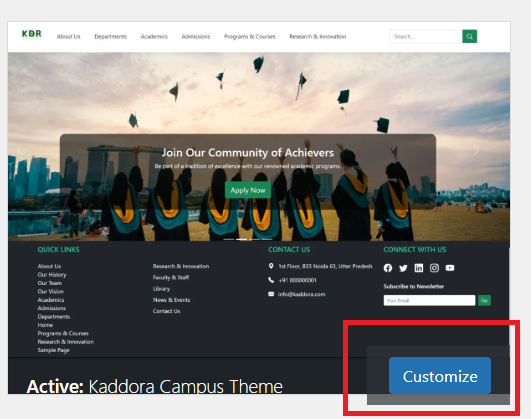
Theme Customization
Once the theme is installed and activated, you can easily customize it to match your brand, style, and website goals. Most of the changes can be done from the WordPress Customizer or the theme’s built-in options panel.
Step 1: Access the Customizer
- In your WordPress Dashboard, go to Appearance → Customize.
- The Customizer will open with a live preview of your site on the right and customization options on the left.
Step 2: Common Customization Options
Inside the Customizer you can typically adjust:
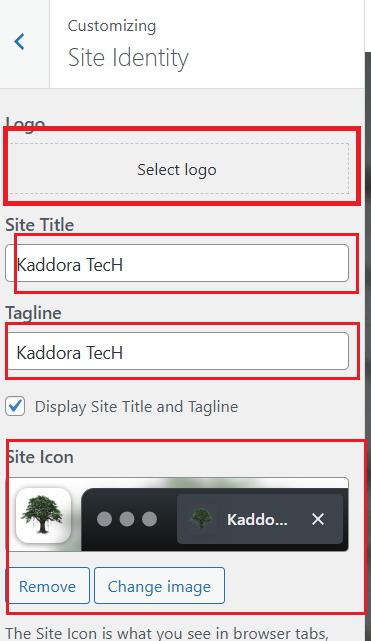
- Site Identity: Upload your logo, set the site title, tagline, and favicon.
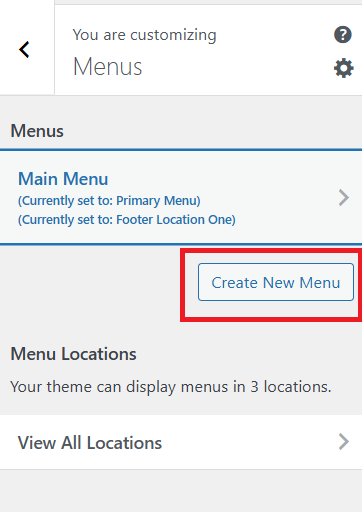
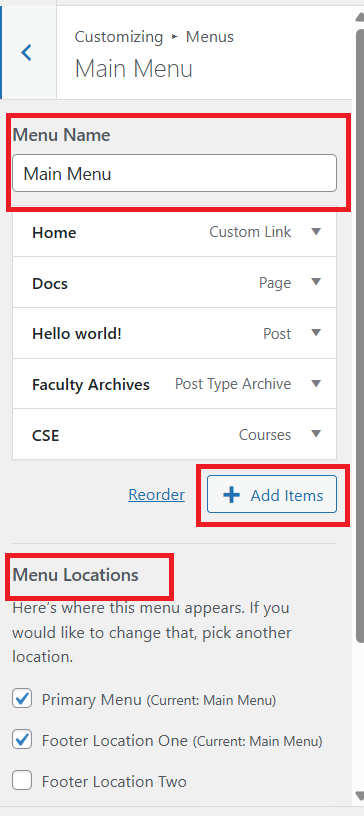
- Menus: Create or assign navigation menus.
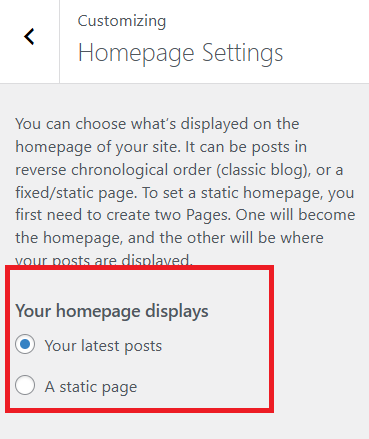
- Homepage Settings: Choose a static front page or show your latest posts.
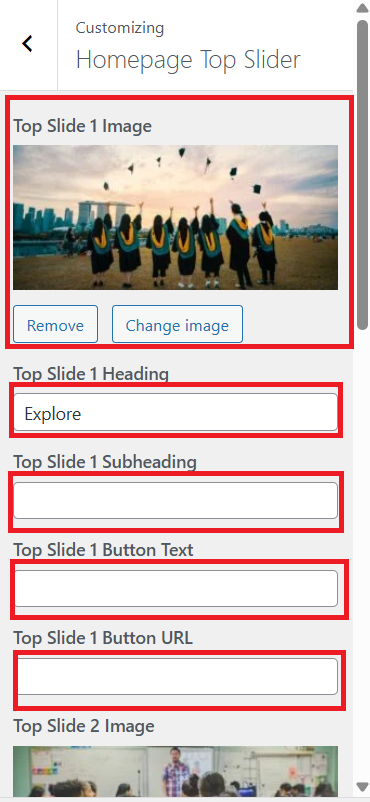
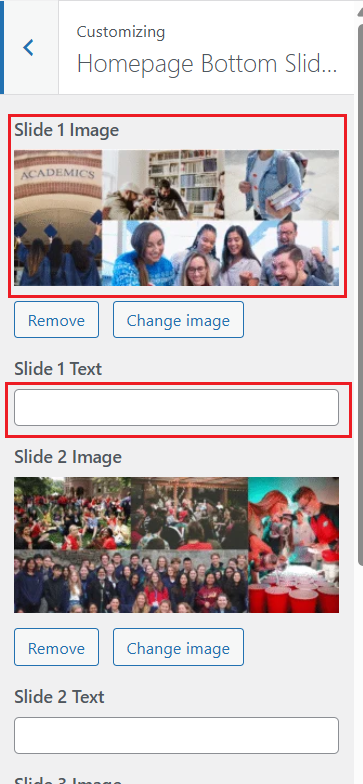
HomePage Top Slider: Add slider in top and also add some heading, subheading and buttton also set our button URL . Add multiple slides…
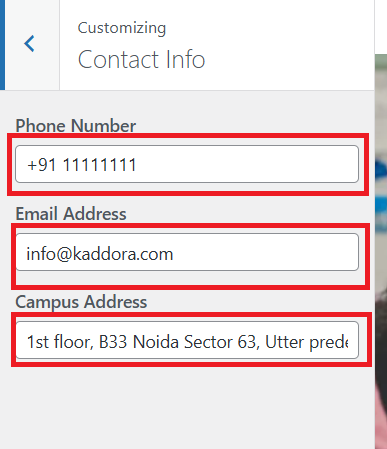
Contact Info : Update our college contact info here,
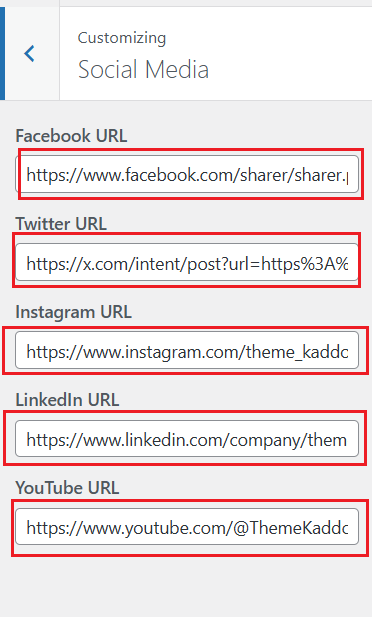
Social Media Links : Setup our social media links here,
Home page buttom gallery : Add our college some gallery images
- Additional CSS: Add custom CSS if you need further styling tweaks.
Step 3: Save & Publish
- After making changes, click Publish in the Customizer to apply the changes live on your site.
Custom Post types
Our theme comes with built-in custom post types that allow you to add and manage different types of content beyond standard posts and pages. These appear in your WordPress Dashboard menu and each has its own fields and layout options.
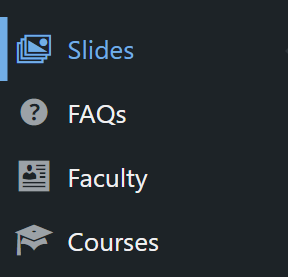
1. Slides
- This post type lets you create and manage slides for your homepage slider or any slider section.
- You can add slide title, description, background image, call-to-action buttons, and link each slide to a page or URL.
- Slides you create here are automatically available in the theme’s slider widget or block.
How to Use Slides Post Types
Click that slide post type
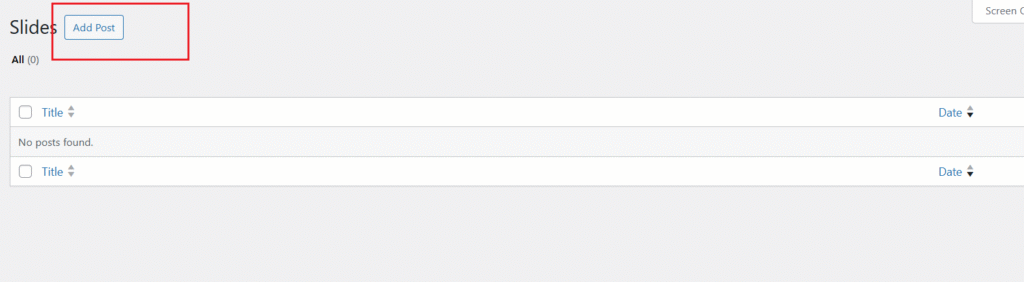
Click Add Post to create a new post.
Fill in the fields and upload images as needed.
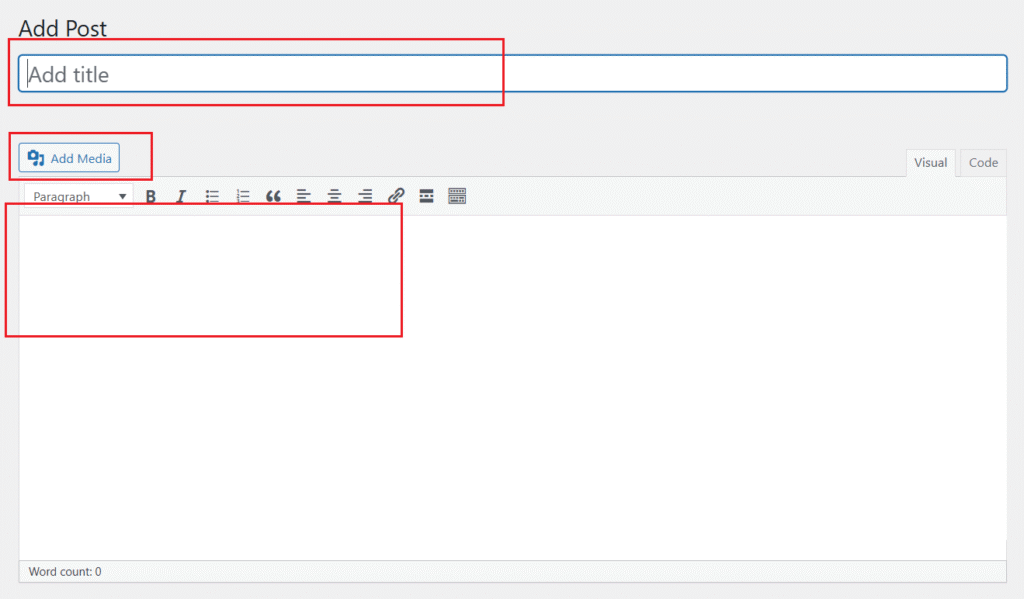
Publish the slide.
2. FAQs
- Use the FAQs post type to add frequently asked questions with their answers.
- FAQs can be displayed on a dedicated page or as an accordion/toggle on any page via a block or shortcode.
- Ideal for support, help pages, or pre-sales questions.
How to Use FAQ Post Types
Click on the FAQ post type in the dashboard menu
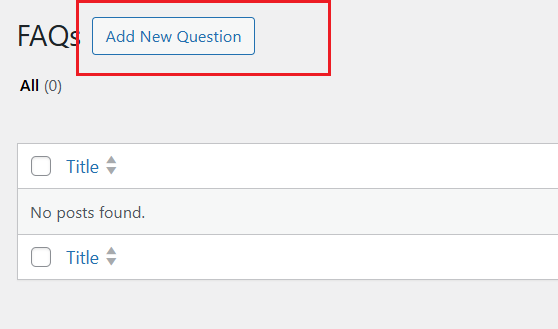
Click Add New to create a new question.
Add question and answer.

Publish the question
3. Faculty
- This post type is designed to showcase your team members, teachers, or staff.
- Each faculty entry can include a photo, designation, biography, social links, and contact information.
- The theme provides templates to display faculty profiles in a grid or list layout.
How to Use Facutlty Post Types
Click on the Faculty post type in the dashboard menu
Click Add New to create a new entry.
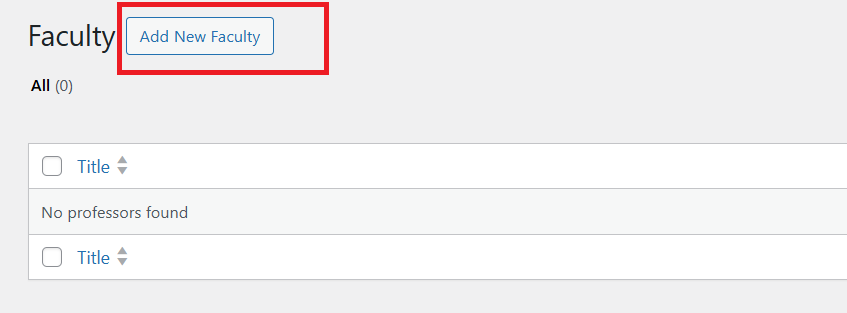
Add faculty name, add some description and also add image
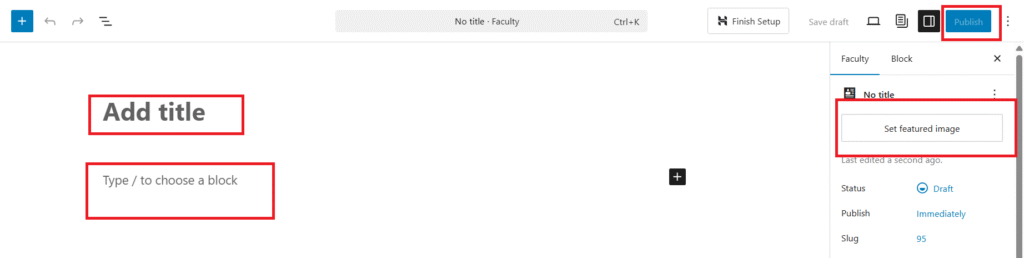
Publish the faculty entry.
4. Courses
- Add and manage your courses here.
- Each course entry can include title, description, featured image, curriculum, pricing, and enrollment links.
- Works with the theme’s built-in course templates or compatible LMS plugins to display courses nicely on your site.
How to Use Course Post Type
Click on the Course post type in the dashboard menu
Click Add New to create a new entry.
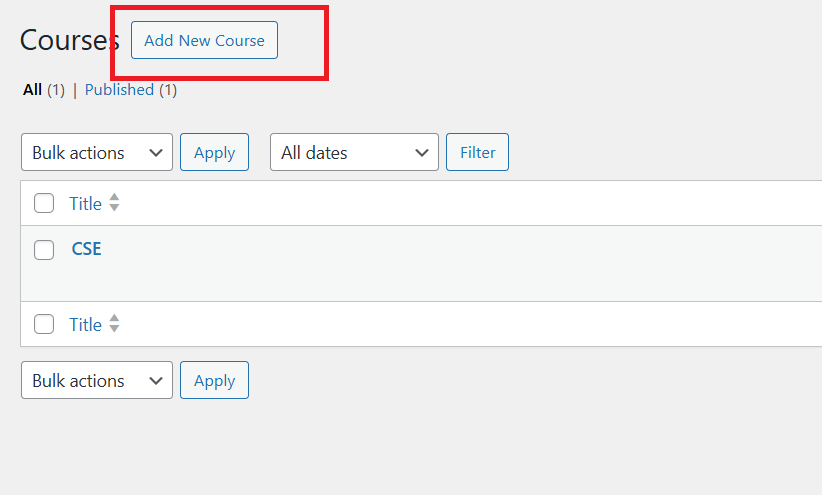
Write course title, course description and we can also add course related faculty…
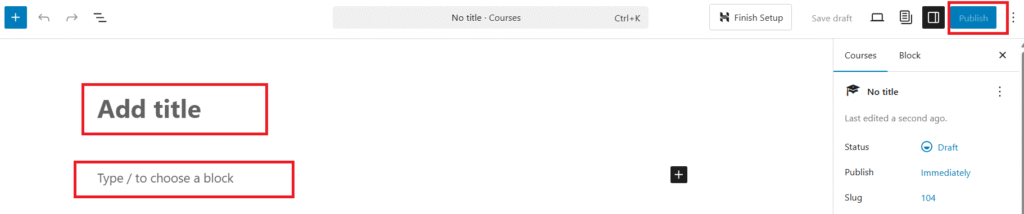
Publish the Course entry.
Step 5: Page Builder Customization (Optional)
If your theme integrates with a page builder like Elementor or Gutenberg, you can:
Customize layouts and content visually.
Open any page or post with the builder.
Drag and drop widgets or blocks.